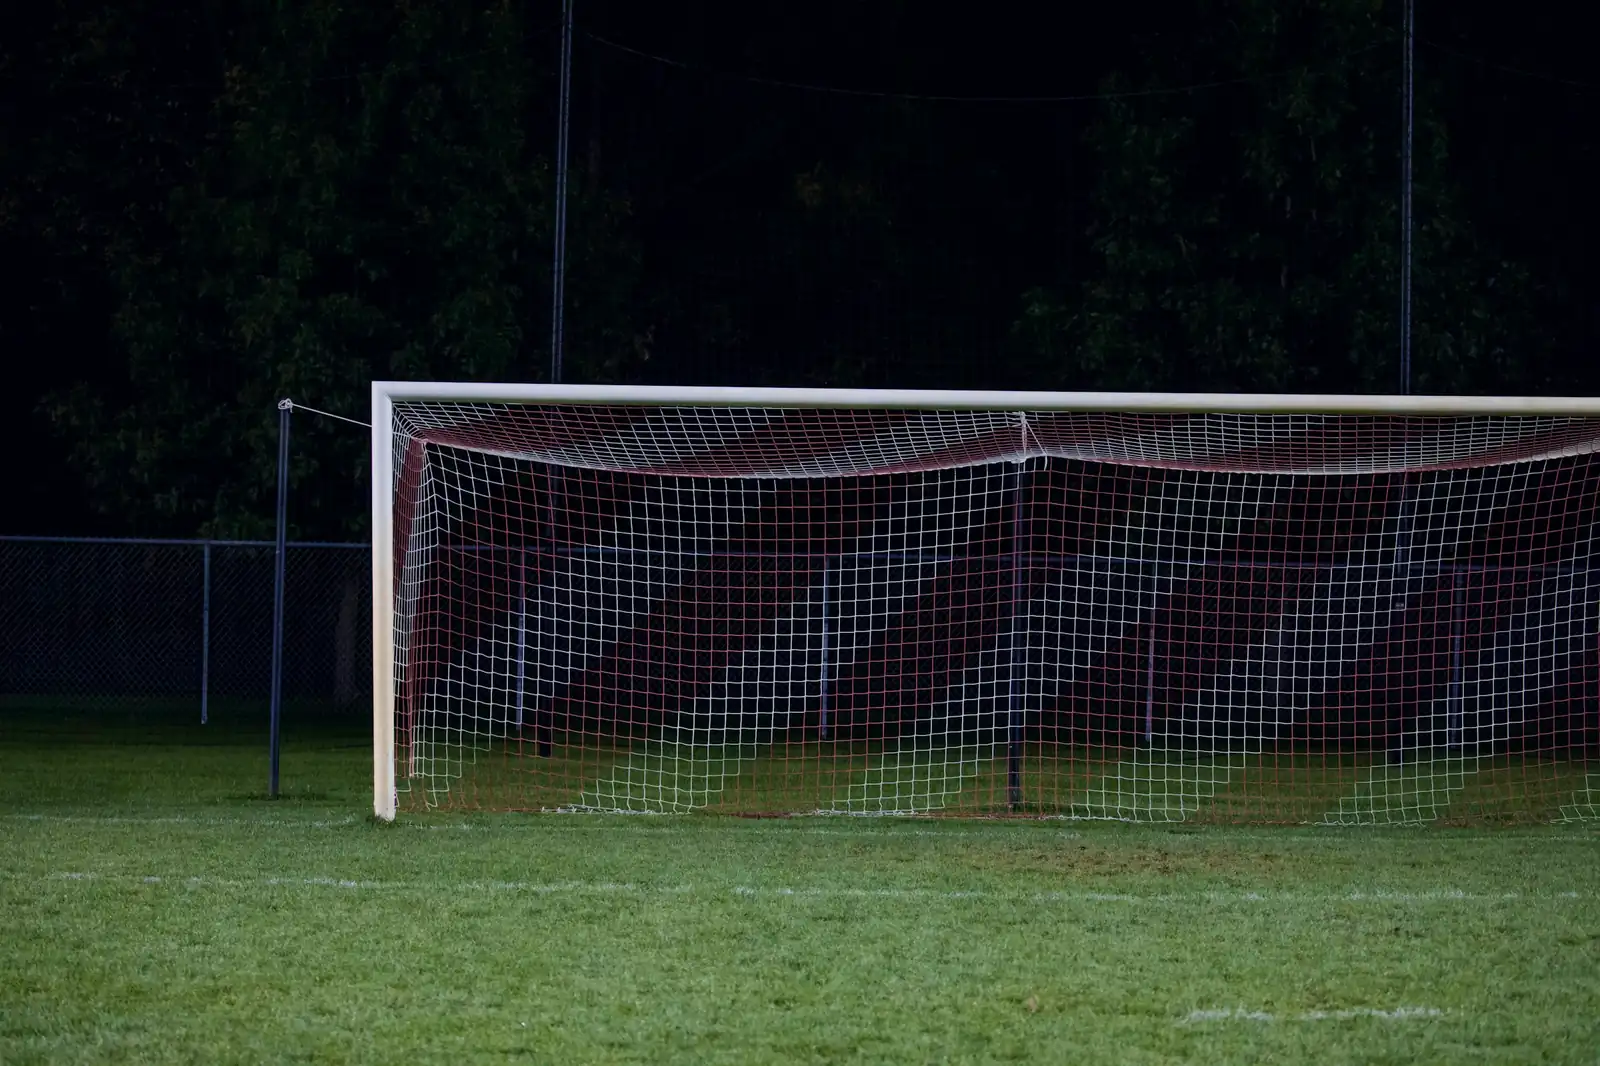
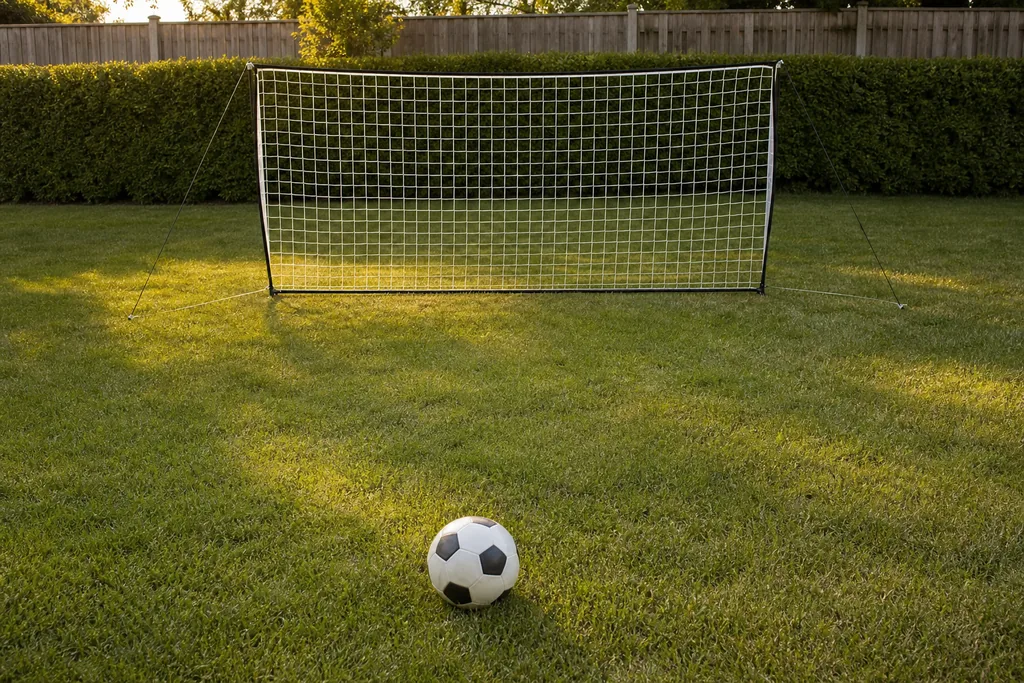
Shooting is the one skill you can’t practice just anywhere. A hard shot that misses keeps going, and at home that can mean a window, a car or someone walking by. A portable soccer goal for the backyard fixes most of that. It gives every shot somewhere to go, and the net catches most of the misses.
Pick the spot before you pick the goal
Walk the yard first. Find the flattest, most open stretch of grass you have, and stand where the shooter will stand. Then look past the goal. Whatever is behind it is what a missed shot will hit.
Good spots have a fence, a hedge or open space behind the net. Poor spots have a window, a parked car, a road or a neighbor’s yard. If the only open space faces the house, turn the goal so the house is off to the side, not behind it.
What to look for in a portable goal
- A size that fits your space. Bigger isn’t always better. Measure the area and leave room behind the net and on both sides.
- A frame that sets up fast. If the goal takes ages to put up, it won’t come out on a school night. Pop-up and bow-style frames go up and come down quickly.
- Stakes or weights. A light goal can slide or tip when a shot hits it. Use the stakes that come with it, every time.
- A net that holds the ball. The net should stop a shot, not fire it straight back at the shooter.
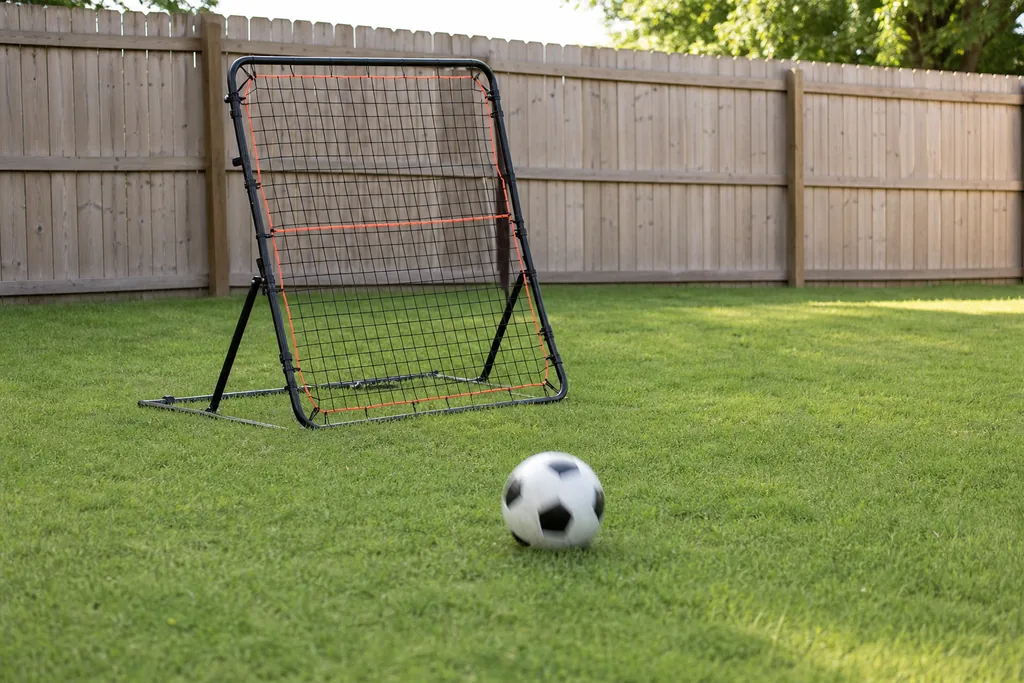
One example is the PowerNet 14×7 portable bow-style goal in our shop. The equipment shop also has rebounders that work as a target.
Set it up safely, every time
- Stake or weigh down the frame before the first shot.
- Keep younger brothers and sisters, pets and friends out of the area behind and beside the goal.
- Check the ground in front of the goal for holes, rocks or sprinkler heads.
- When practice ends, take the goal down or lay it flat so it can’t blow over or get climbed on.
No goal yet? Use a target
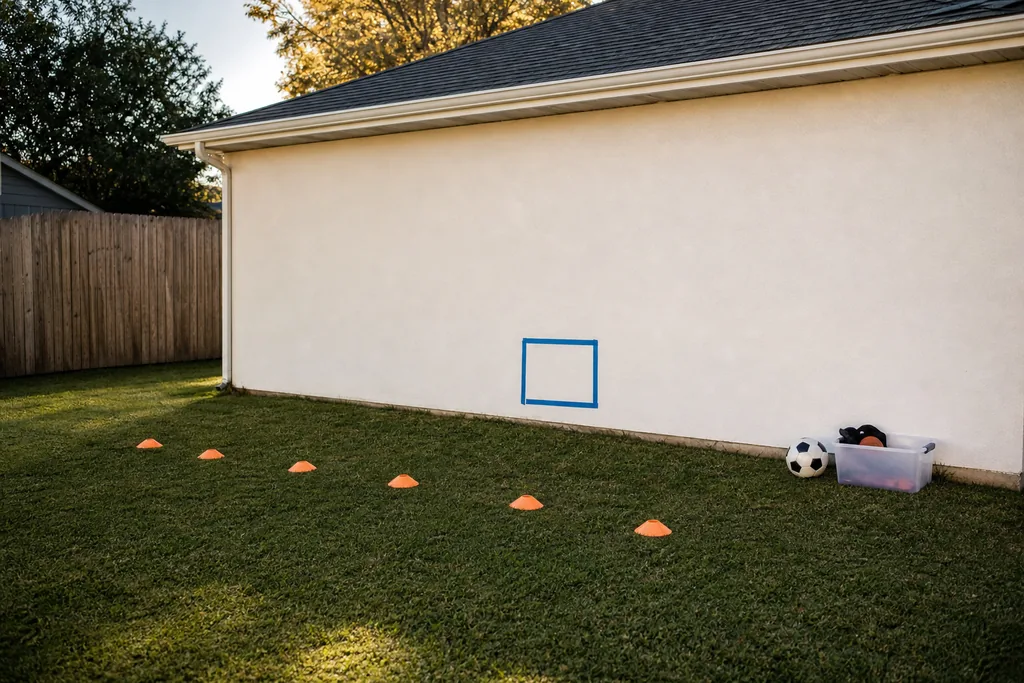
You don’t need a goal to start shooting. A square of tape low on a sturdy wall, two cones as posts, or a rebounder can all be the target. Drills like Inside-Foot Placement and Laces Strike at a Target work with a goal or a simple target, as long as there’s a safe backstop behind it.
Make the goal count
Once the goal is up, aim small. Pick one corner and try to hit it, instead of just trying to score. Start close, with the inside of your foot. Move back only when you’re hitting the corner most of the time. Then switch to your laces. Then switch feet.
The goal isn’t the workout. The reps are. Ten careful shots at a corner teach you more than fifty hard ones that fly over the top.
Start close, then move back
Where you shoot from matters as much as the goal. Our shooting drills give a starting distance for a reason: Inside-Foot Placement starts 8 to 10 yards from the target, and Laces Strike at a Target about 12 yards out. Mark those spots with a cone so every session starts from the same place.
If most shots miss, move a few steps closer. If almost every shot hits, step back or make the target smaller. The right distance is the one where you hit the target most of the time but still have to concentrate.
Look after the goal
A portable goal lasts longer with a little care. Check the stakes and the net clips before each session, because a loose clip lets the net sag and balls slip under. Bring the goal in during storms and strong wind. Once a month, look the frame over for bent poles or worn joints, and repair or replace anything that’s damaged before someone uses it again.
Your next step
Find a safe spot, set the goal up right and start with one corner. When you want more, try the Finishing Challenge or the rest of our shooting drills.